I’ve been asked a few times how my comic making process works now that I’ve switched to penciling digitally, so I’m going to do a write up about that. As always you can find all my blogging about making comics on this handy tumblr post.
So, previously I made comics completely traditionally. Here’s a write up of how I used to make comics. All of the pre-drawing of the comic still applies: I still do my thumbnails by hand, scribbled in a notebook.
Now I draw comics on a Cintiq, in Manga Studio. Here’s what my initial desktop looks like:
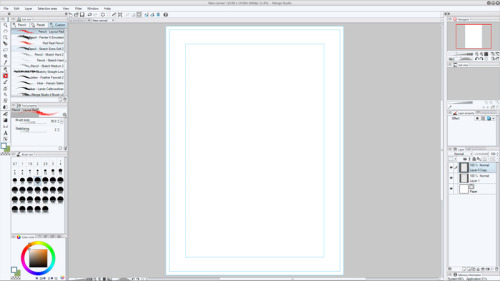
That’s Manga Studio, and my template comic page. It’s 10 by 14 inches, and the blue lines are my safety, trim and bleed. All important artwork and dialogue/speech bubbles should go within the safety.
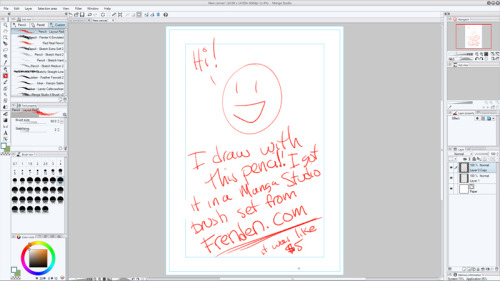
I draw with a red pencil (Pencil-Layout Red) from the Frenden Manga Studio brush pack. I can’t remember which pack I bought, but there’s only 3 on the Frenden site and I’m sure they’re all great. Frenden does great brushes. Why red? It’s just easier to see than blue. For some reason I have a hard time sketching with a blue pencil on a screen, although I still draw with blue on paper. I don’t know why that is.
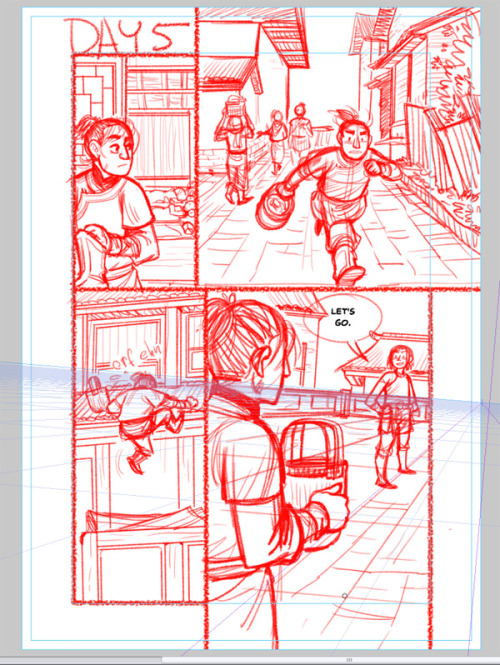
And here’s a rough comic page! Ta da! It’s pretty messy. I used a lot of reference to draw Nameless City. This is page 97, so a right facing page in the published book. Therefore the bleed on the second panel is bleeding off of the page and not into the spine of the book.
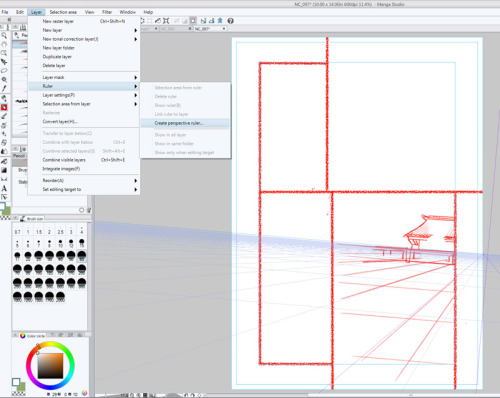
One of the best things about Manga Studio is its perspective tools. I’m not an expert in using them, so I recommend looking up someone who really knows what they’re doing if you want to know more. I mostly just use the 1 and 2 point perspective grids to figure out where the floor is in certain panels, so I can more easily place characters within space. Very basic stuff, but it has made my life so much easier. I would marry Manga Studio’s perspective grids if I could. 😀
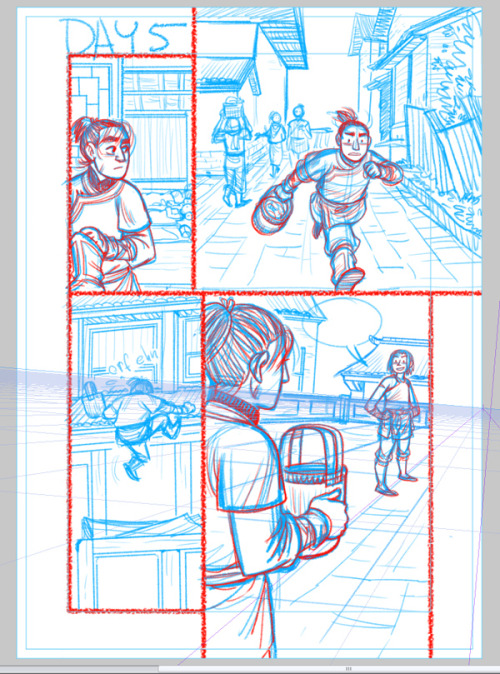
Then I clean up the page a bit. Eventually I hope to eliminate this step, because it’s time consuming. All I do is adjust the colour of the pencils to blue and trace over the figures I feel need improving with red. I usually only do this with main characters, an attempt at keeping everyone consistently drawn (lol).
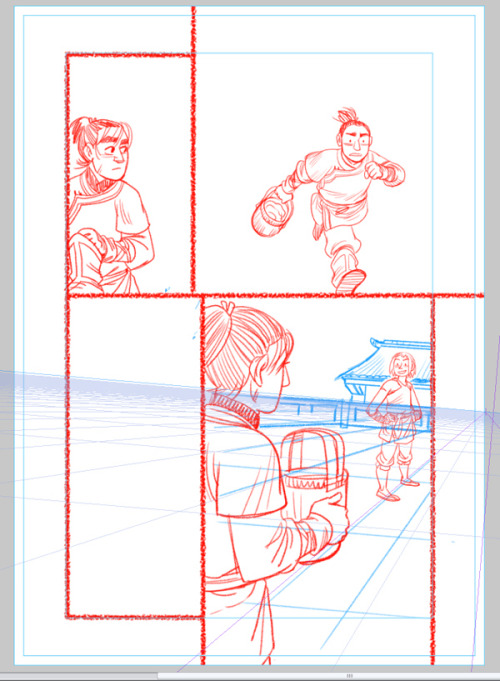
This is what it looks like with the rough pencils turned off. I never had to do this when I drew traditionally, and I think it’s because I’m not yet used to inking over digital pencils. People ask me about inking and how I “find the right line” to ink, and the answer is I just do. But for some reason I can’t with my printed out digital pencils. So until I become more accustomed to them, I need to do clean up. It sucks! Just an extra step I want to eleminate.
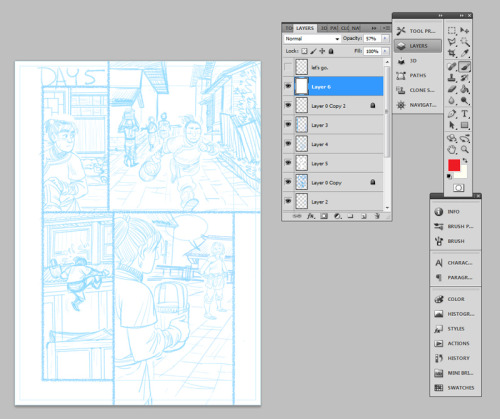
Then I bring the file into Photoshop and prepare it for printing. The pencils always print darker than the look in PS, so I put down a layer of white overtop the pencils and adjust the layer’s opacity to 55%.
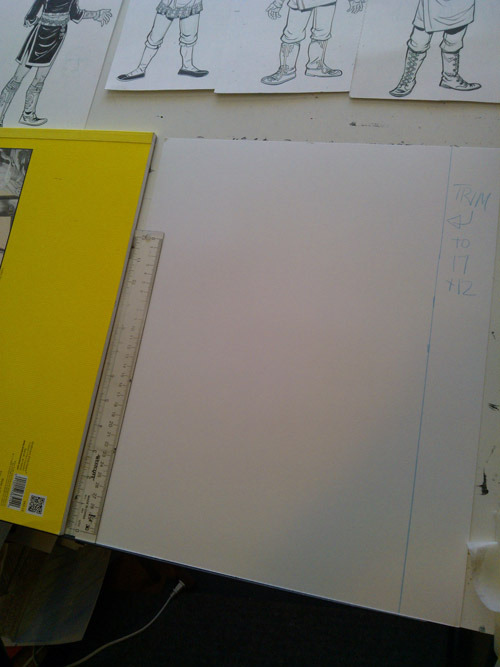
Here’s the paper I use for printing, same paper as I’ve always used: Strathmore Bristol, smooth surface. I cut down these 17 x 14 inch sheets to 17 x 12 so they’ll fit in my printer.
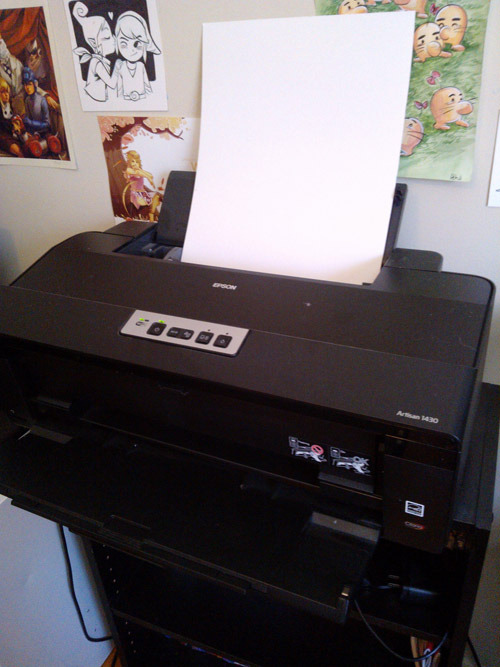
My lovely printer! I do adore it. It’s an Epson Artisan 1430, the size of a keyboard and it’s been great. I printed out 200+ pages of blueline comic pages on only two cartridges of ink.
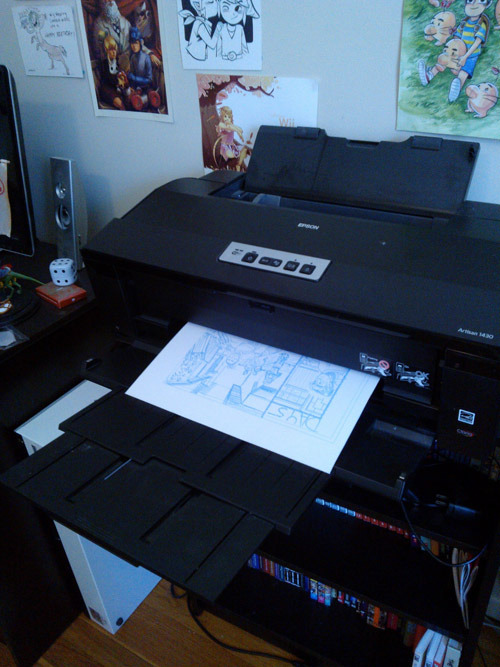
It’s printing!!!
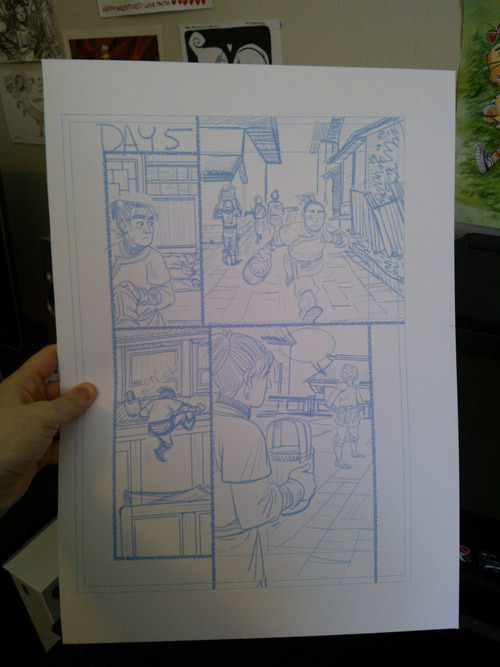
And done! Now for inking.
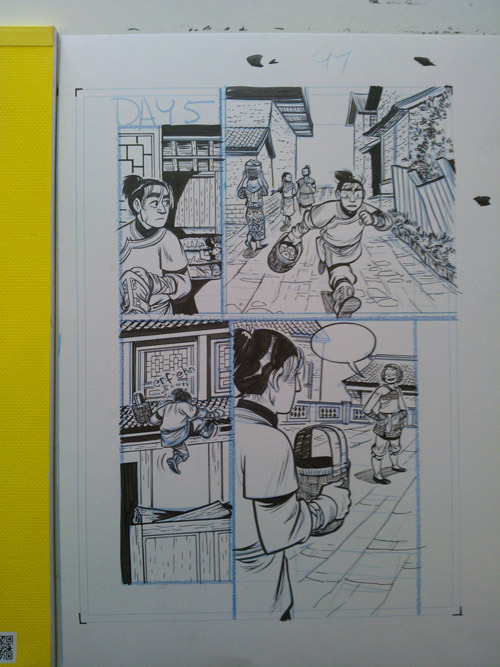
Unfortunately I didn’t take a picture of this page when it was half-done, but here’s the finished product. I don’t ink my borders because I can’t draw a straight line, even with a ruler. 😀 Borders I do in Photoshop.
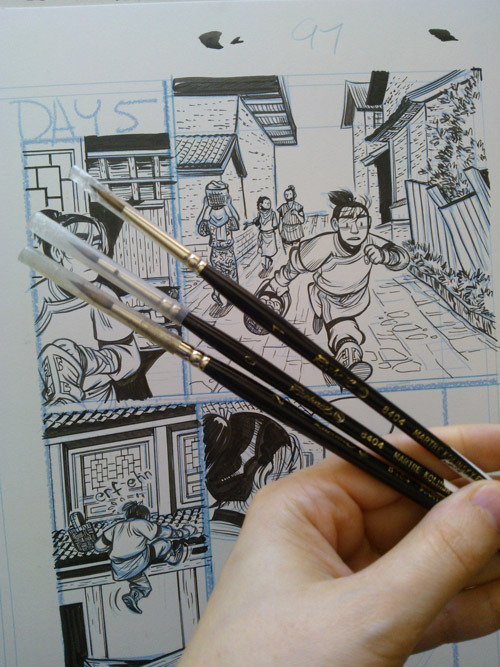
I use a brush for inking. These are the brushes I use: Raphael Kolinsky watercolour brush, sizes 0, 1 & 2. I use the 1 for most of the page, the 0 for finer details and the 2 for larger areas. Anything that’s a straight line is inked with a pen. I tend to use Faber Castel pens, usually a small or extra small.
So that’s pretty much it! After I finish the page I scan it and prep it for printing in Photoshop, which is pretty boring.
The main question I get when I talk about my process is “Why don’t you ink digitally? Then you won’t have to scan.” I would very much like to eliminate scanning from my process, but at this point, I really love inking traditionally. It’s the part of the comic-making process that I enjoy the most, and I also think that traditional inks give my comics their unique look. I’m just not ready to take that step and ink digitally for my graphic novels, although I have done it for shorter comics. Maybe someday, but not now. 🙂 For now, this is how I work.
I hope everyone enjoyed the post, and feel free to shoot me any questions you might have.
